
Getting started with Subform
Subform is early release software, so we haven’t yet had time to develop an overeager, anthropomorphic paperclip that guides you through using the app. But fear not, we’ve written a short reference to the basics that should get you up and running. Consider it Subform 101.
We’ll keep this post updated as a useful reference while Subform develops.
For more detail, check out Kevin’s two tutorial videos on layout and components:
Finally, I've written all of the hotkeys from the Mac perspective.
If you're on Windows, use the ctrl instead of command (⌘) key.
You can see all of the hotkeys within the app by clicking Show Help in the help menu at the top of the app.
Adding/deleting elements
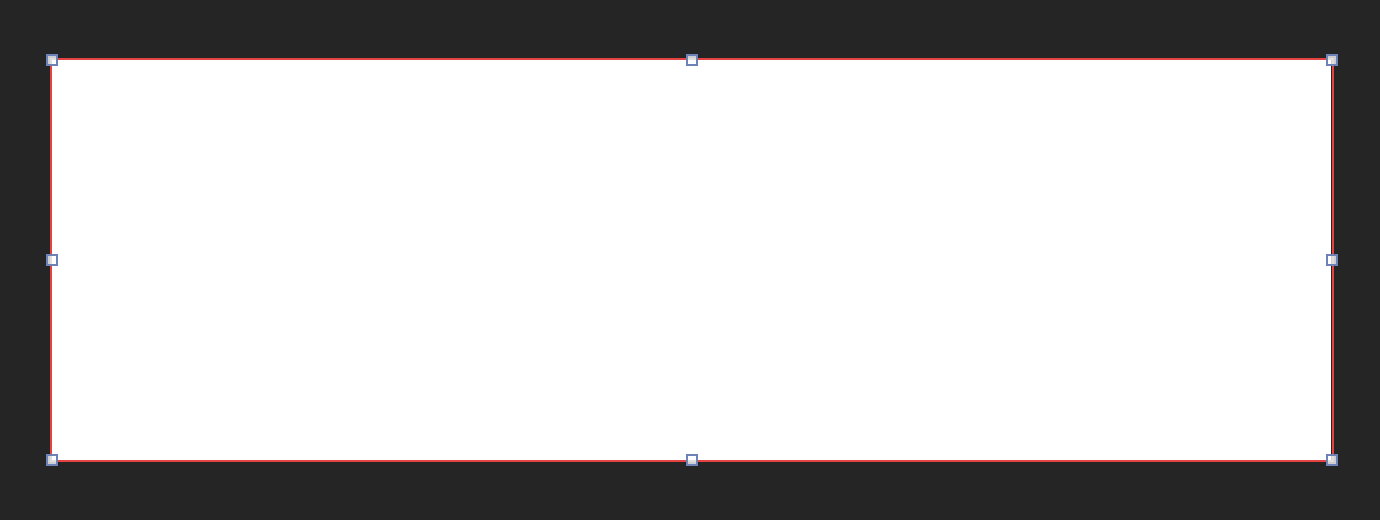
To add a new element to the artboard, just press enter. A little box will appear. (Didn’t work? Make sure the artboard is selected.)
You can press enter a few more times to keep adding elements. To delete an element, just press the delete or backspace key.
You can also select an existing element and press enter to add children to that element.

Duplicating elements
To duplicate an element, press shift-D.
Artboards
You can create new artboards by duplicating existing ones.
To move between artboards, use ⌘f (next artboard) and ⌘b (previous artboard).
Rearranging elements
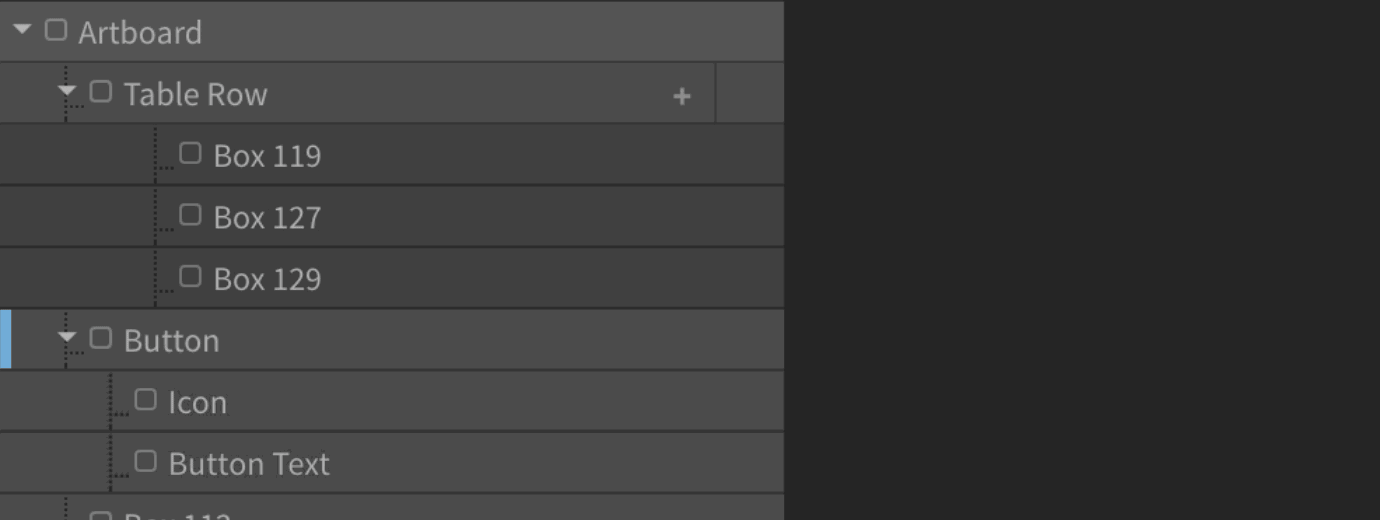
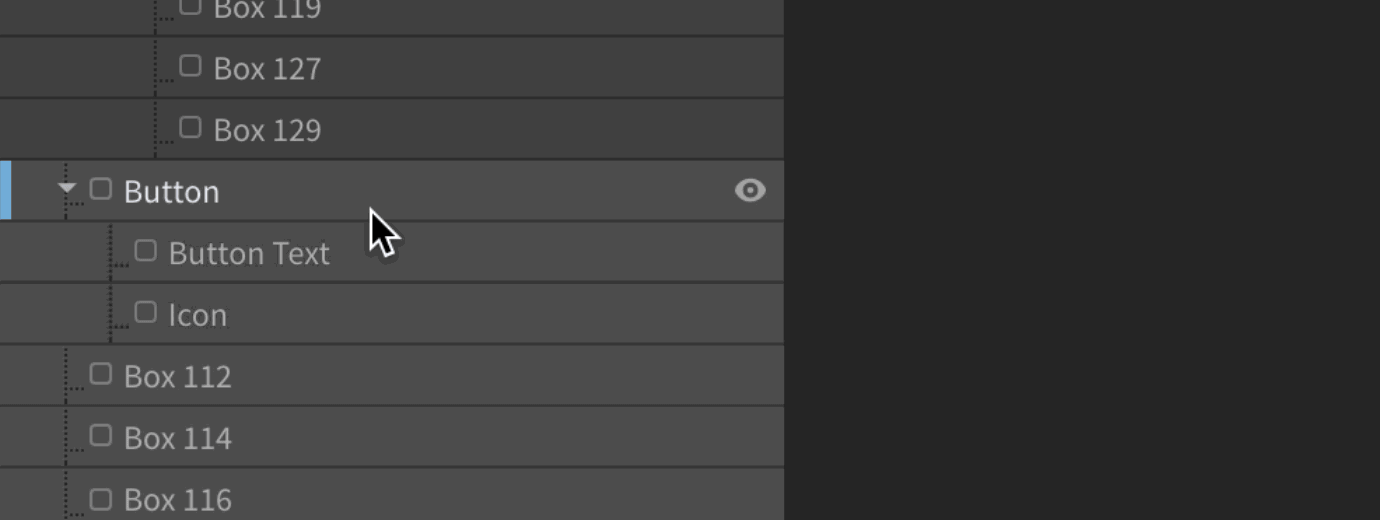
On the left side of the screen, you’ll see the tree. This works much like a traditional layers panel, except that it exposes structural relationships between elements.
Here we can see that a parent button contains both text and an icon as children. You can drag elements around the tree to reorder or nest them. Note that the children will come along with the parent (similar to a layer group):
You can also change the z-indexing of items in the tree. In Subform, elements are drawn in paint-order, from the top-down. So items closer to the bottom of the tree will appear in front of items closer to the top.
Navigating between elements
Besides clicking around the tree, you can also:
- move between sibling elements using
⌘→ / ⌘← - move between parent/children elements using
⌘↑ / ⌘↓ - reorder the selected element among its siblings using
⇧⌘→ / ⇧⌘←
Adding text
To add a text box to an element, select it and press t. You can then double-click the “new text” text to edit it.
Changing font and font size
Typography controls in Subform are a bit primitive right now, but setting the font size and font family basically works like the CSS font property.
First select the type element that you'd like to edit. In the rightmost panel, you'll see a form field labeled "CSS Font Spec." Enter in the font size first, followed by a space and the font name.
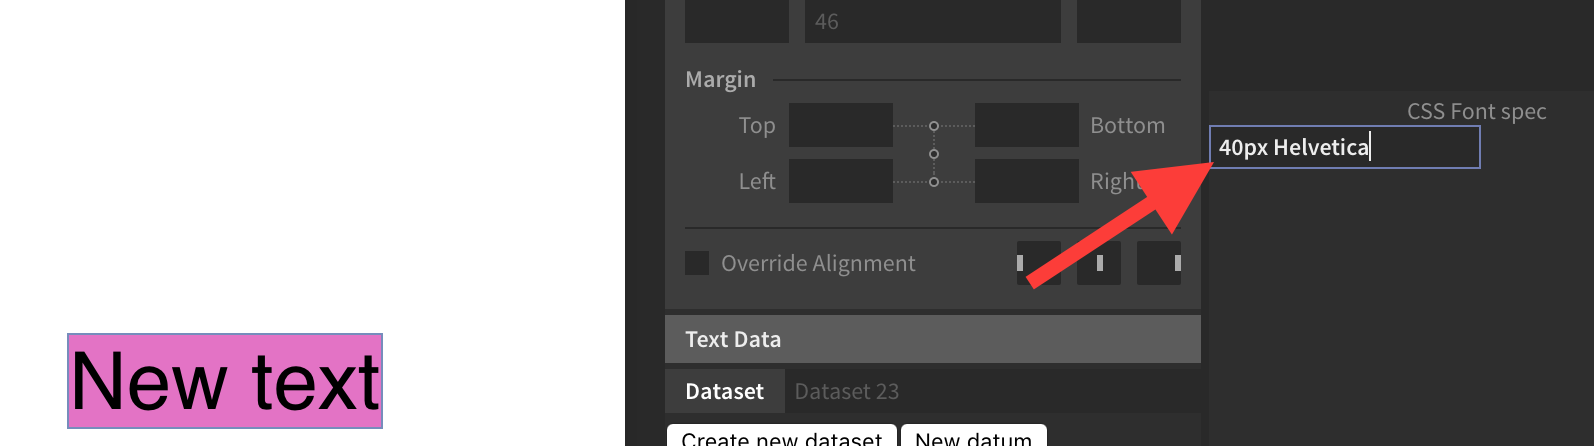
Font-family names need to be specified as they are on the system. So "San Francisco Display Regular" would be typed into the font field as SFUIDisplay-Regular. You can find the system name in your font manager: Font Book, Suitcase, FontExplorer, etc.
Layout
Subform’s layout engine is powerful, but it works a little differently than what you might be used to. Please watch Kevin’s Intro to Layout tutorial for a better understanding of how to get started with the layout system.
A couple of layout things to always keep in mind:
Computed layout
When you create a new element by pressing enter, it’s automatically in computed mode. This means that its positioning is based on the rules in its parent’s child layout settings. You can’t use direct manipulation (e.g. dragging and resizing) to set the position and size of these elements.
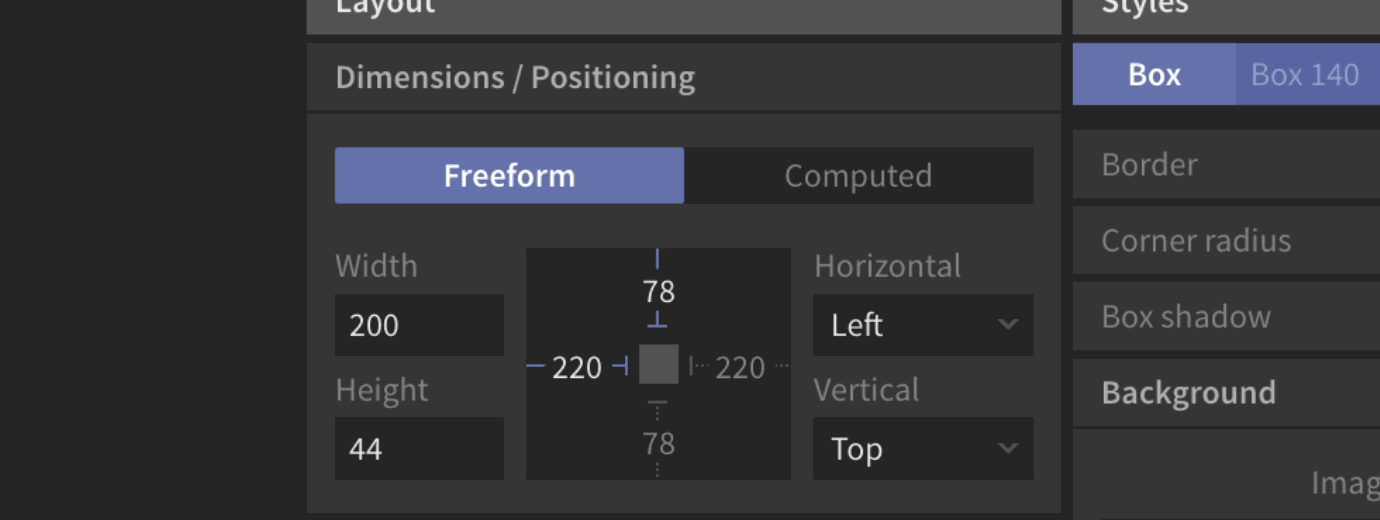
Freeform layout
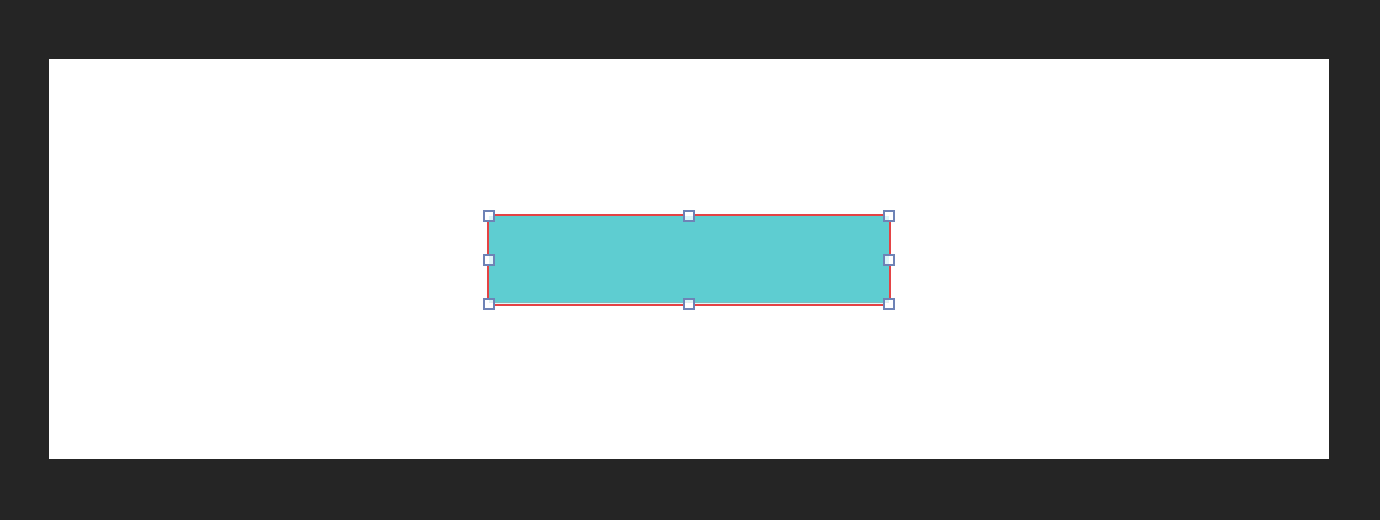
An element can be switched from computed layout to freeform layout by clicking in the Dimensions / Positioning panel.

When in freeform mode, a element’s layout works more traditionally. You can drag an element around to reposition it, and resize it using selection handles.
Auto sizing to content
To make an element automatically take the width or height of its children, just remove its width or height values.
Note that a parent can’t auto-size to a child that has percentage dimensions. (Since the child's percentage is taken in reference to the parent's size...but the parent is trying to size in reference to its child.)

HUD
To see the dimensions of a selected element and its positioning information, hold down the alt key.

Creating and reusing a component
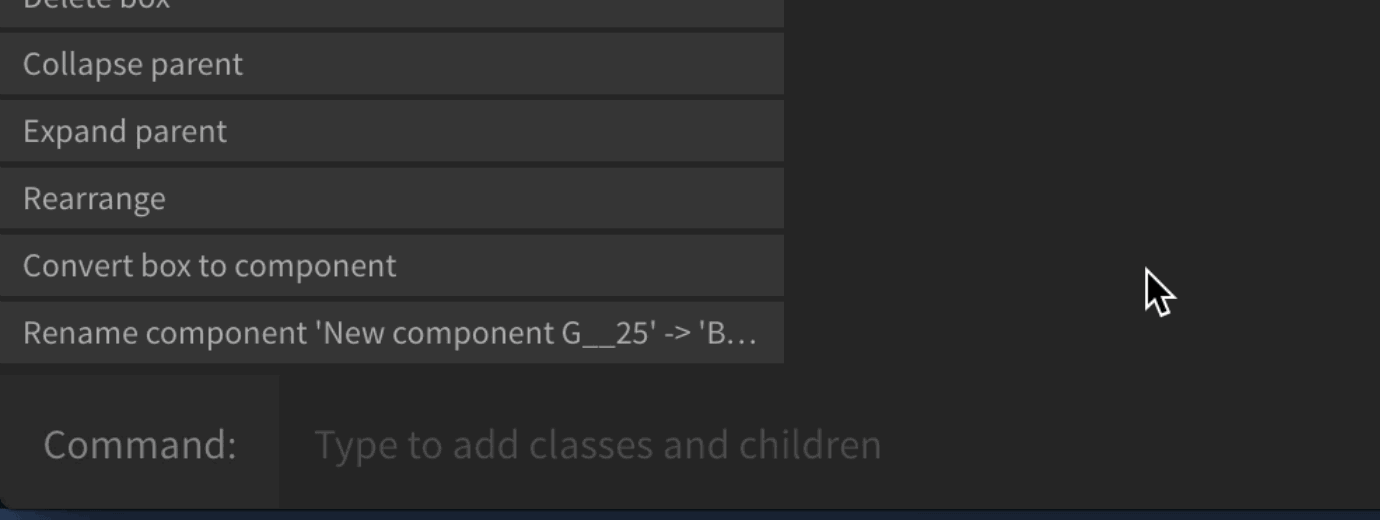
To make a component from a selection, press ⌘K or right click it in the tree and select "Convert to Component". The element’s name will change in the tree to “New Component…”.
To rename the component, double-click its name in the tree and type in a new name.
To place another instance of the component, click on the command bar at the bottom of the screen, type in the component’s name, and select Add Component [Name] from the menu.
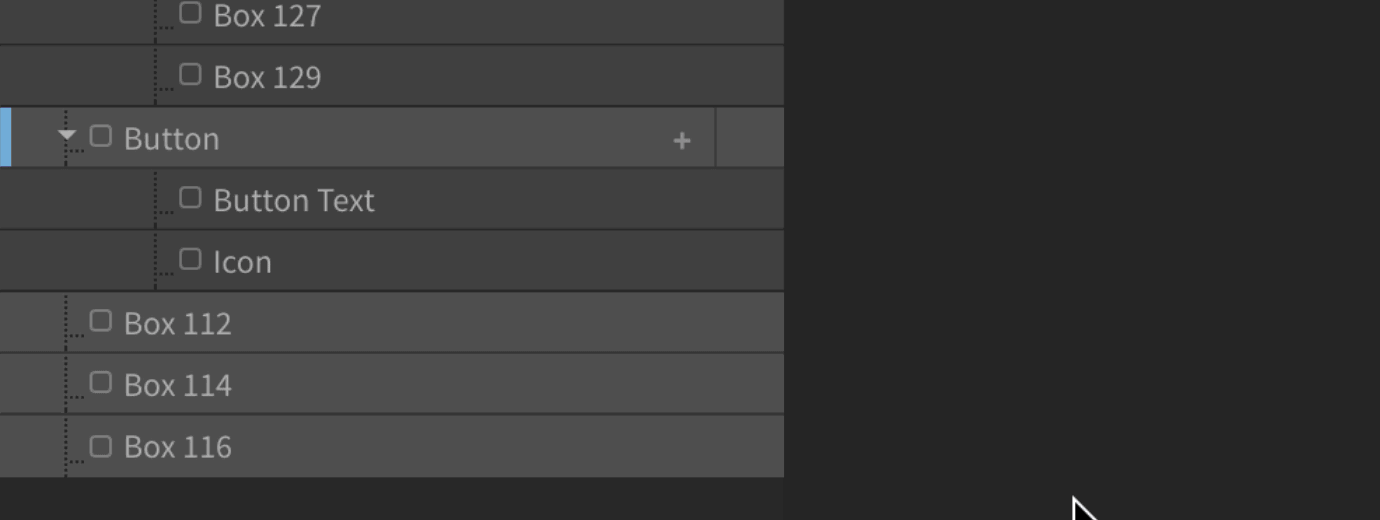
Adding component states
To add new states to a component, right-click (or ctrl-click) the + icon next to the component’s name in the tree, then click Create new state. The new state will start as a duplicate of the currently-selected state.
Switching between component states
To switch between component states, ctrl-click the state name next to the component’s name in the tree, then click on the state you want to switch to.
Alternately, you can quickly toggle between states of a selected element using ⌘, / ⌘. (Mac) and ctrl+, / ctrl+. (Windows).